AirPods are one of the most popular wireless earbuds in the market, but they also have a common problem: the battery life. Many users have reported that their AirPods lose their charge quickly or stop working after a few years of use. This is because the batteries inside AirPods are not designed to be replaced by users, and they degrade over time due to the constant charging and discharging cycles.
So, what can you do if your AirPods battery dies? Do you have to buy a new pair of AirPods or pay a hefty fee to Apple for a replacement? Not necessarily. In this blog post, we will show you how to replace the battery of AirPods yourself, with some tools and skills. However, we must warn you that this is a very difficult and risky task, as AirPods are not meant to be opened or repaired by anyone other than Apple. You may end up damaging your AirPods or injuring yourself if you attempt to do this. Therefore, we strongly advise you to seek professional help from Apple or other authorized service providers instead of trying to do it yourself.

If you still want to proceed with the battery replacement, here are the steps you need to follow:
What You Need
Before you start, you will need some tools and skills, such as:
- A hot air gun with helical wind
- Tweezers
- Alcohol
- Soldering iron
- A steady hand
- A compatible battery for your AirPods model
You can find these tools online or in local hardware stores. As for the battery, you will need to find one that matches your AirPods model. AirPods Pro use button batteries, while AirPods 1 and 2 use cylindrical batteries. You can search for these batteries online or in local electronic stores.
Step 1: Heat the Metal Cap
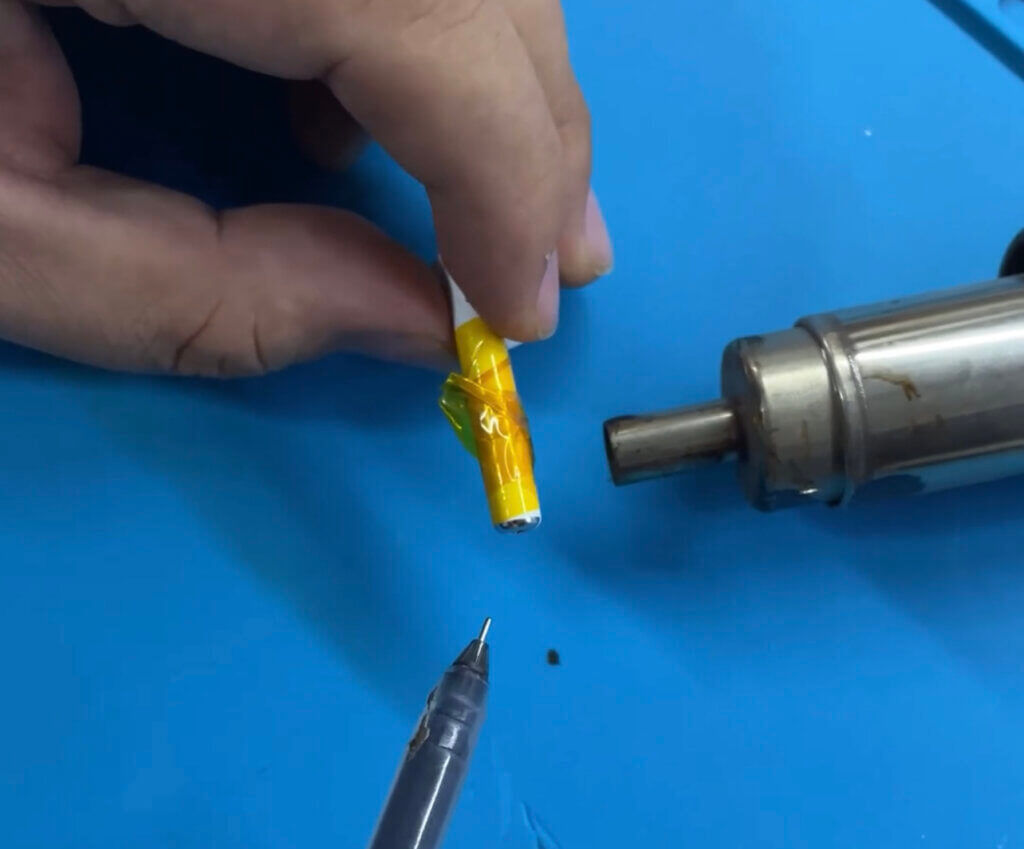
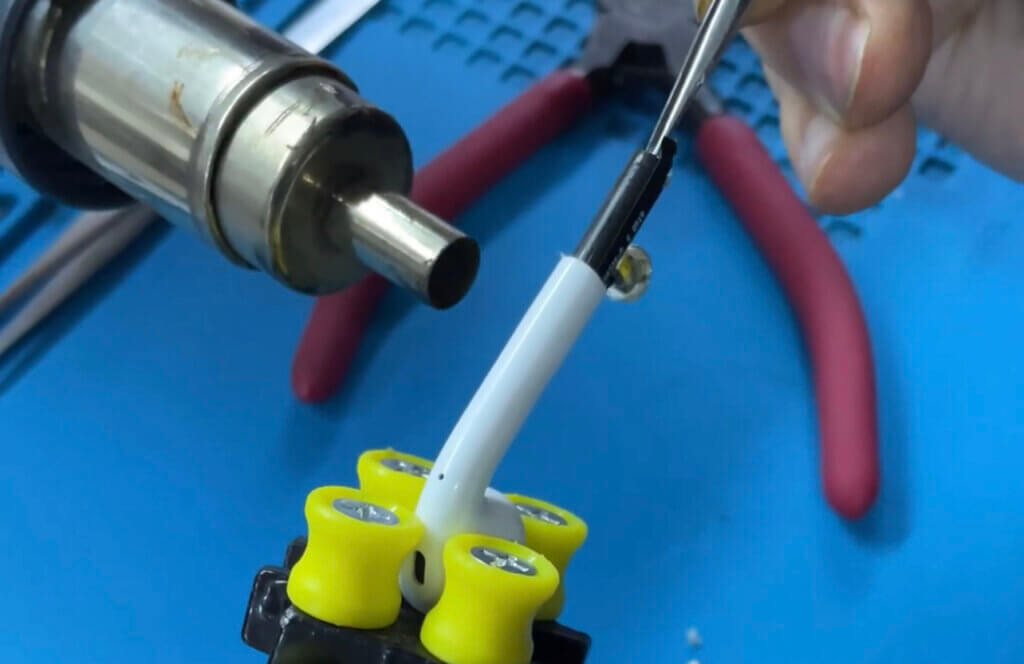
The first step is to heat the metal cap of the AirPod for about three minutes with a hot air gun. This will soften the glue that holds the cap to the plastic shell. Be careful not to overheat or burn the AirPod, as this may damage the internal components.
Step 2: Pry Up the Metal Cap
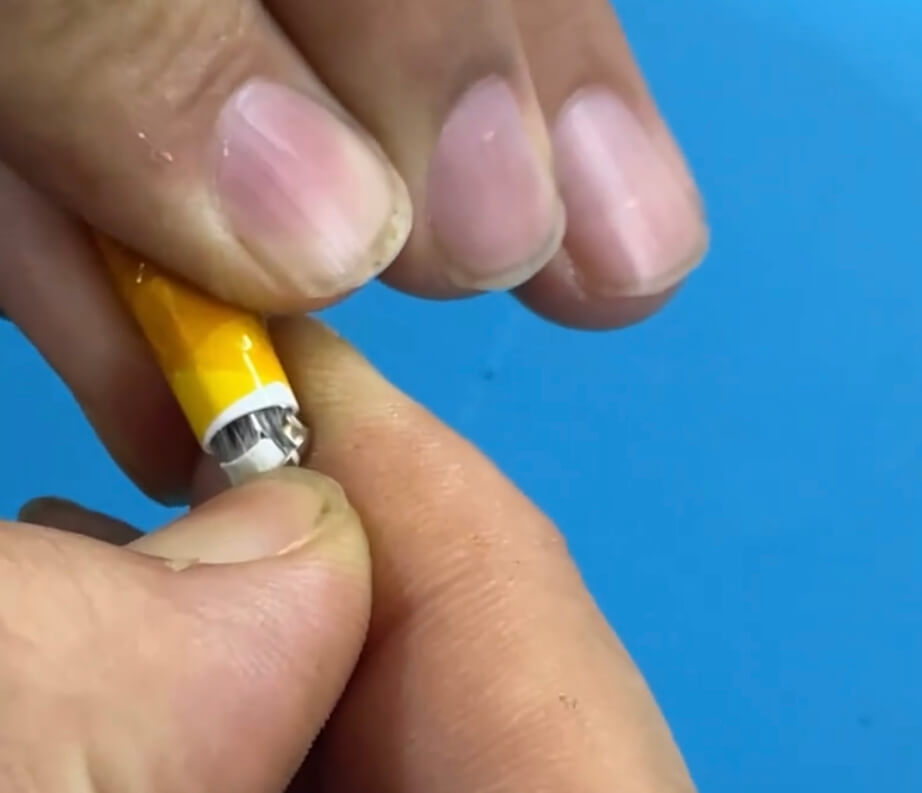
After heating, use an L letter tool or a thin blade to pry up the metal cap from the side. Be careful not to damage the flex cable or the speaker mesh that are attached to the cap. You may need to apply some force to lift the cap, as it is tightly glued to the shell.
Step 3: Remove the Adhesive and Disconnect the Flex Cable
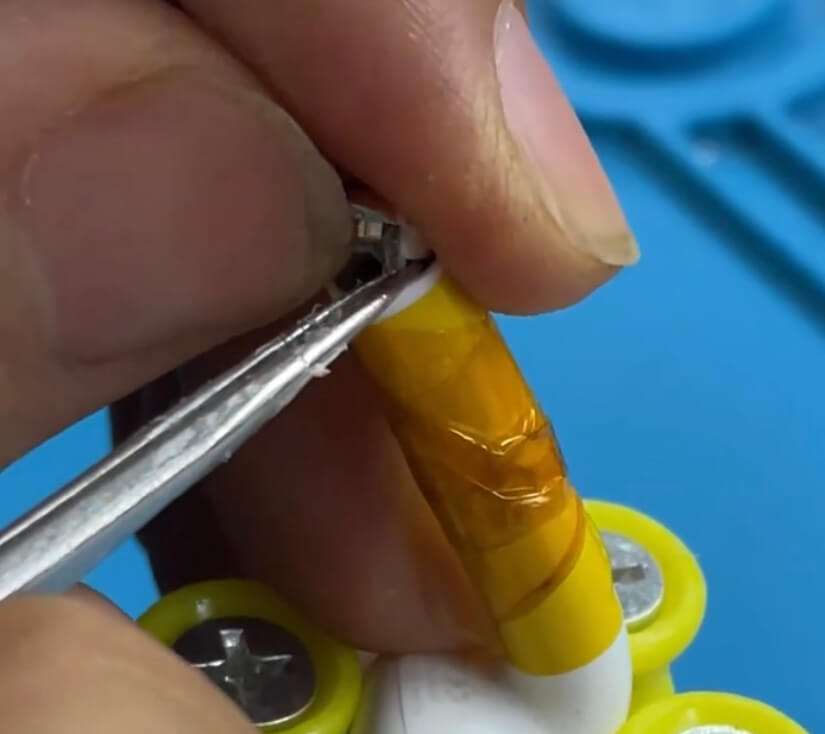
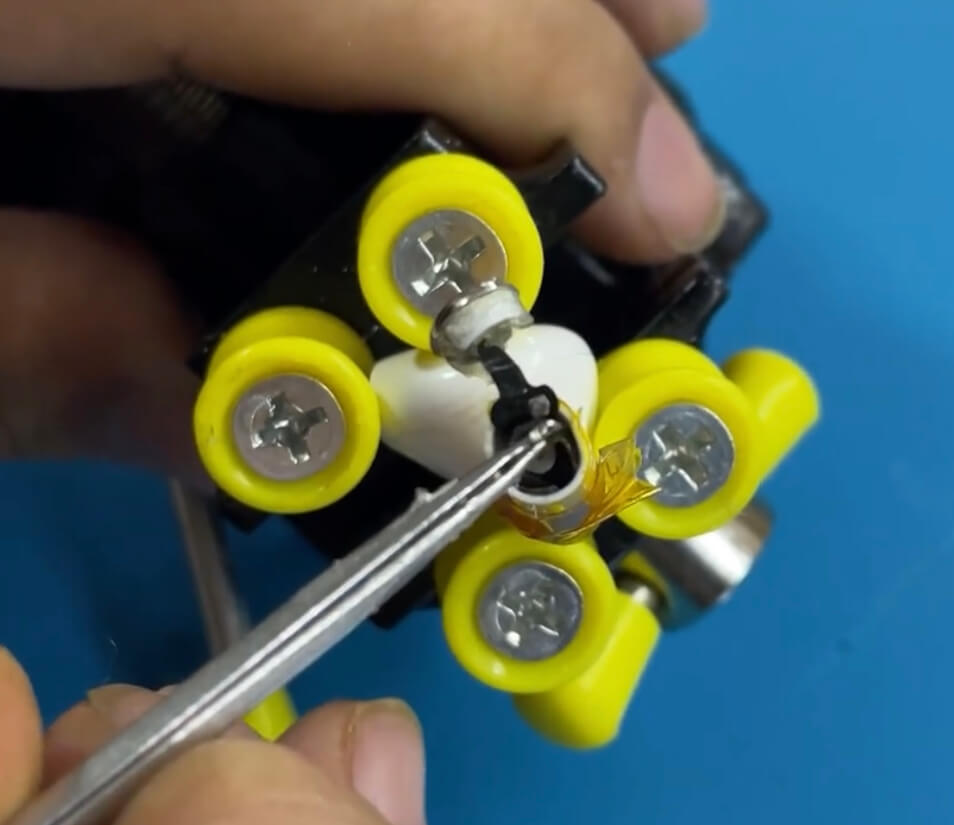
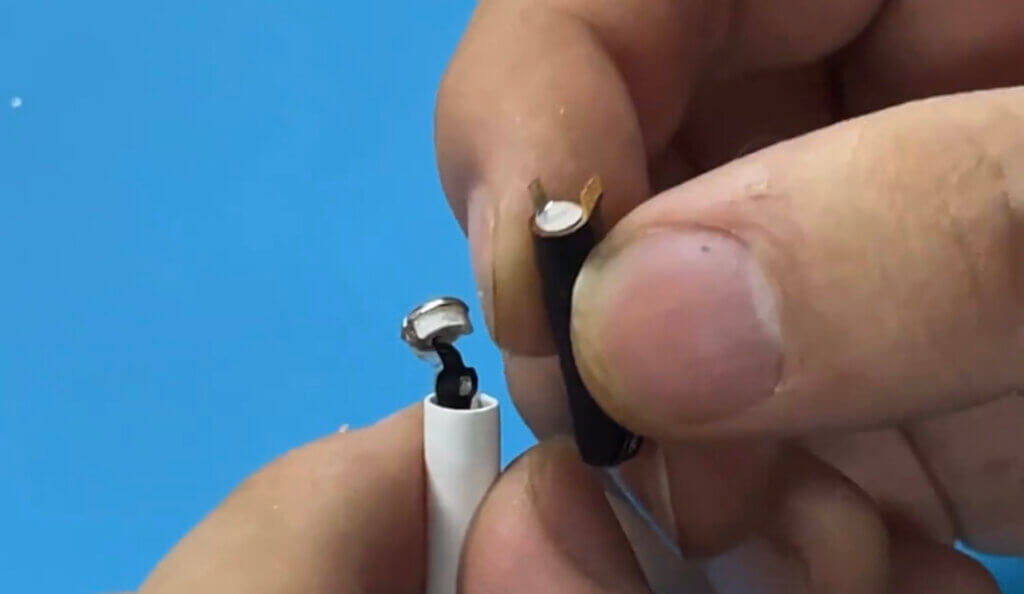
Once you remove the metal cap, you will see some adhesive and a flex cable that connects the cap to the circuit board. Use tweezers and alcohol to remove the adhesive and disconnect the flex cable from the cap. Be gentle and avoid pulling or tearing the cable.
Step 4: Pry Up the Old Battery
Now, you will see the old battery inside the plastic shell. Use tweezers and alcohol to pry up the old battery from the shell. You may need to apply some heat again to soften the glue that holds the battery in place. Be careful not to puncture or short-circuit the battery, as this may cause fire or explosion.
Step 5: Measure and Replace the New Battery
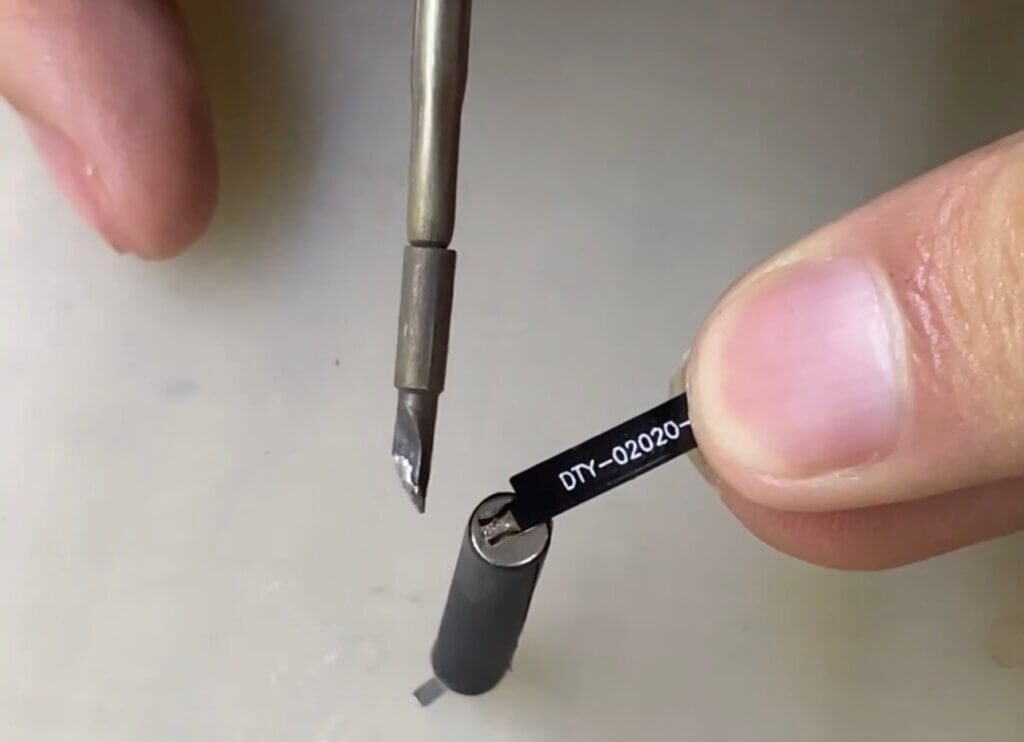
Before you replace the old battery with a new one, you need to measure the voltage of the new battery with a multimeter. It should be around 3.7V. If it is too low or too high, it may not work properly or damage your AirPods.
After measuring, remove the old battery and insert the new one. Solder the wires to the corresponding pads on the circuit board. Make sure the polarity is correct and there is no short circuit.
Step 6: Test and Reassemble
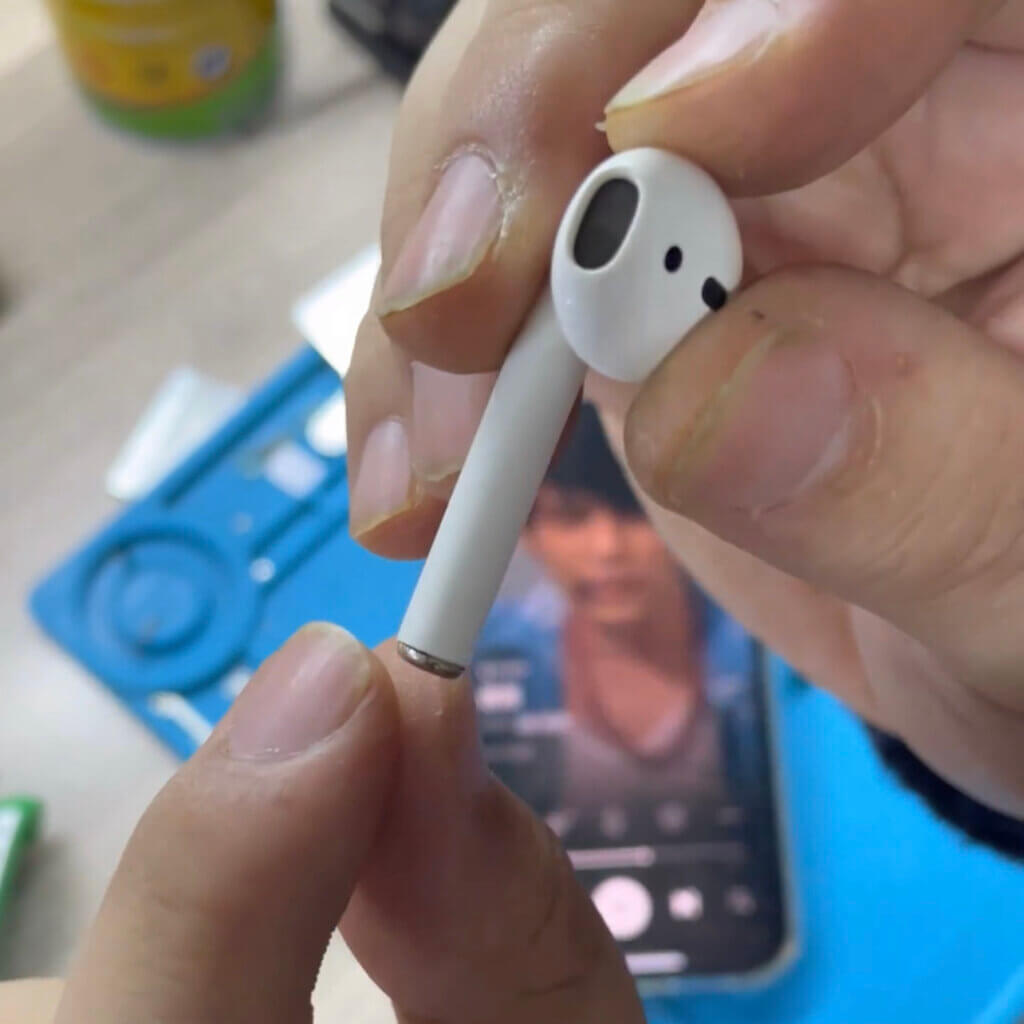
The final step is to test and reassemble your AirPods. Connect the flex cable back to the metal cap and apply some glue to secure it. Then, test your AirPods by pairing them with your device and playing some music. If everything works fine, congratulations! You have successfully replaced your AirPods battery.
If not, you may need to check your soldering or wiring again, or try another battery. If nothing works, you may have damaged your AirPods beyond repair, and you will need to buy a new pair or get a replacement from Apple.
Conclusion
If you want to see a visual demonstration of this process, you can watch this video that shows how to replace AirPods battery in detail.
Replacing the battery of AirPods is not an easy task, and it is not recommended for most users. It is very risky and may void your warranty or damage your AirPods. Therefore, we suggest you to consider other options, such as getting a replacement from Apple or buying a new pair of AirPods instead.
However, if you are confident and skilled enough to do it yourself, you can follow the steps above to replace your AirPods battery. Just make sure you have the right tools and skills, and be careful and patient throughout the process.
We hope this guide helps you understand how to replace the battery of AirPods. If you have any questions or feedback, please leave a comment below. Thank you for reading!

