Do you love your AirPods Pro, but hate the fact that their battery life is getting worse over time? Do you want to save money and avoid buying a new pair of AirPods Pro? If you answered yes to any of these questions, then this blog post is for you.
In this blog post, I will show you how to replace the battery of your AirPods Pro in 10 easy steps. You don’t need to be an expert or have any special tools to do this. All you need is a new battery, a heat gun, a metal pry tool, a soldering iron, a spudger, some tweezers, some adhesive tape, and some patience.
By following this guide, you will be able to extend the battery life of your AirPods Pro and enjoy them for longer. You will also learn some useful skills and have some fun along the way. Ready? Let’s get started!
Step 1: Clamp and heat the AirPods Pro case
The first step is to clamp the AirPods Pro case in a specialized holder that can keep it steady and secure. You can buy one online or make one yourself. Then, use a heat gun to heat the case for about a minute, moving it around the edges. This will soften the adhesive that holds the lid and the case together.
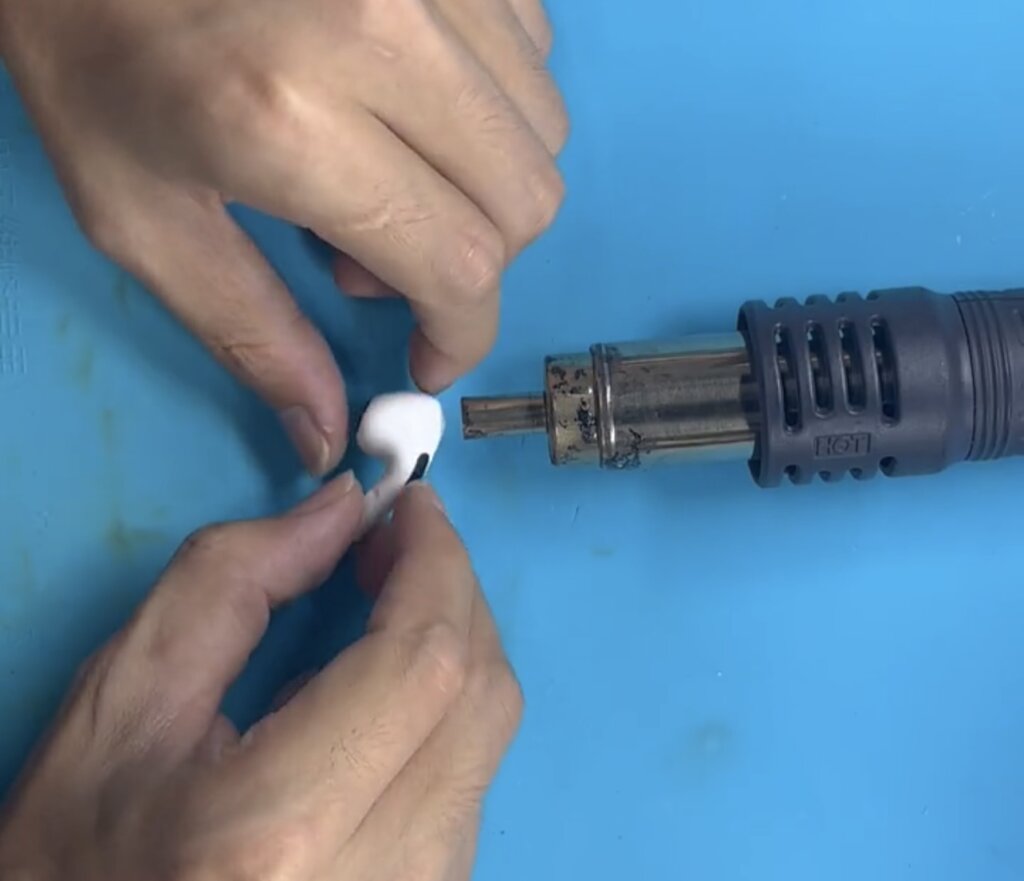
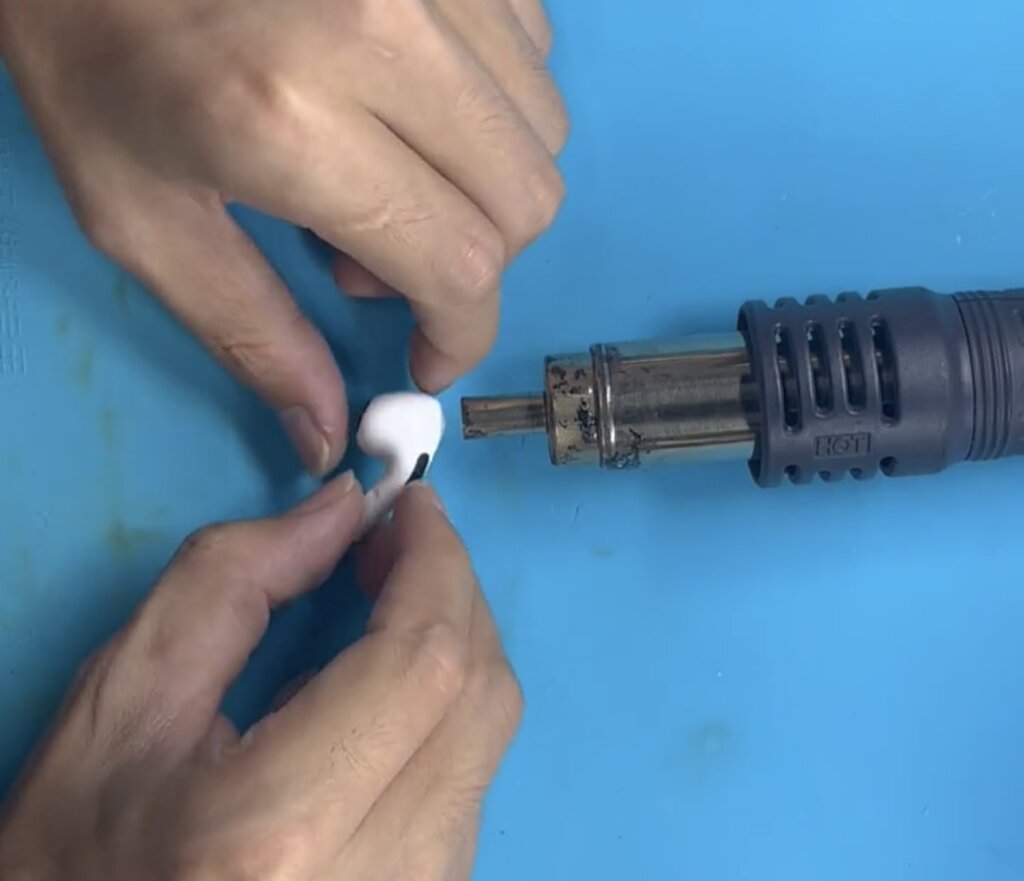
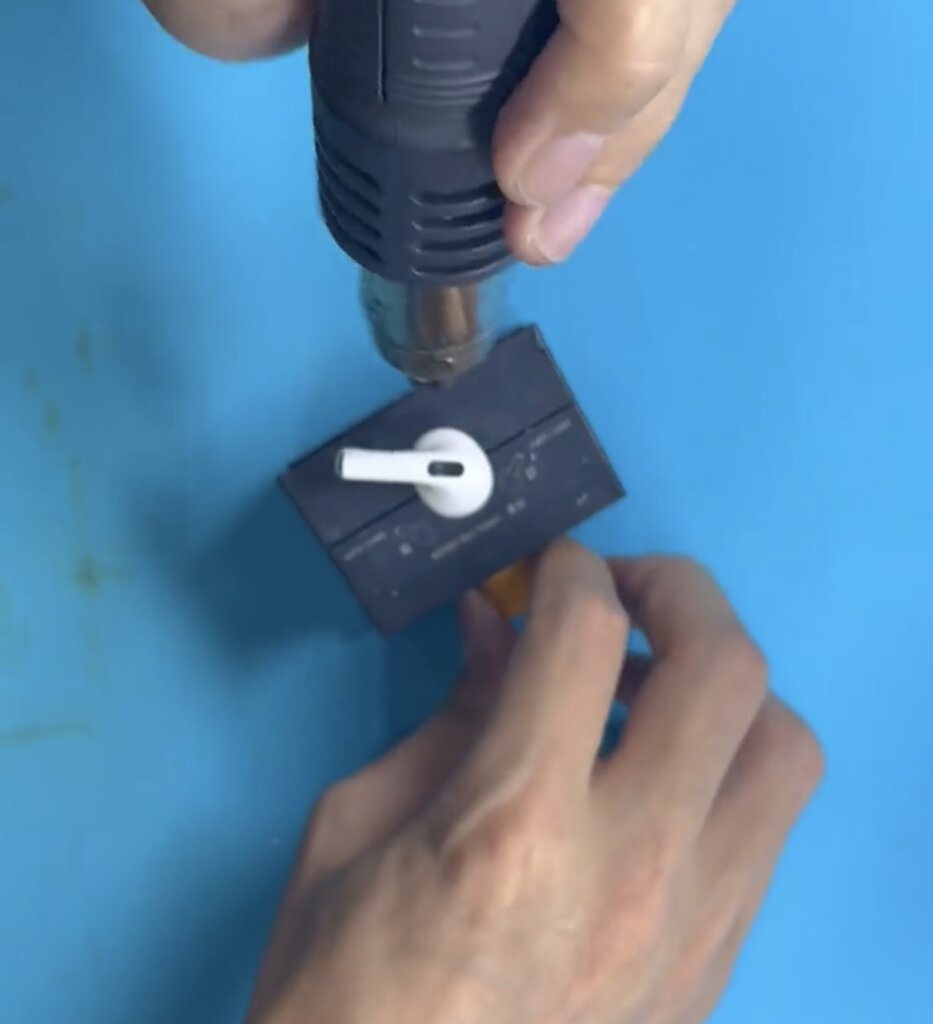
Step 2: Pry open the lid
The next step is to insert a thin metal pry tool into the gap between the case and the lid, near the hinge. Be careful not to damage the case or the lid. Then, carefully slide the pry tool around the edge of the case, applying gentle pressure to separate the lid from the case. You should hear a click when the lid pops open.
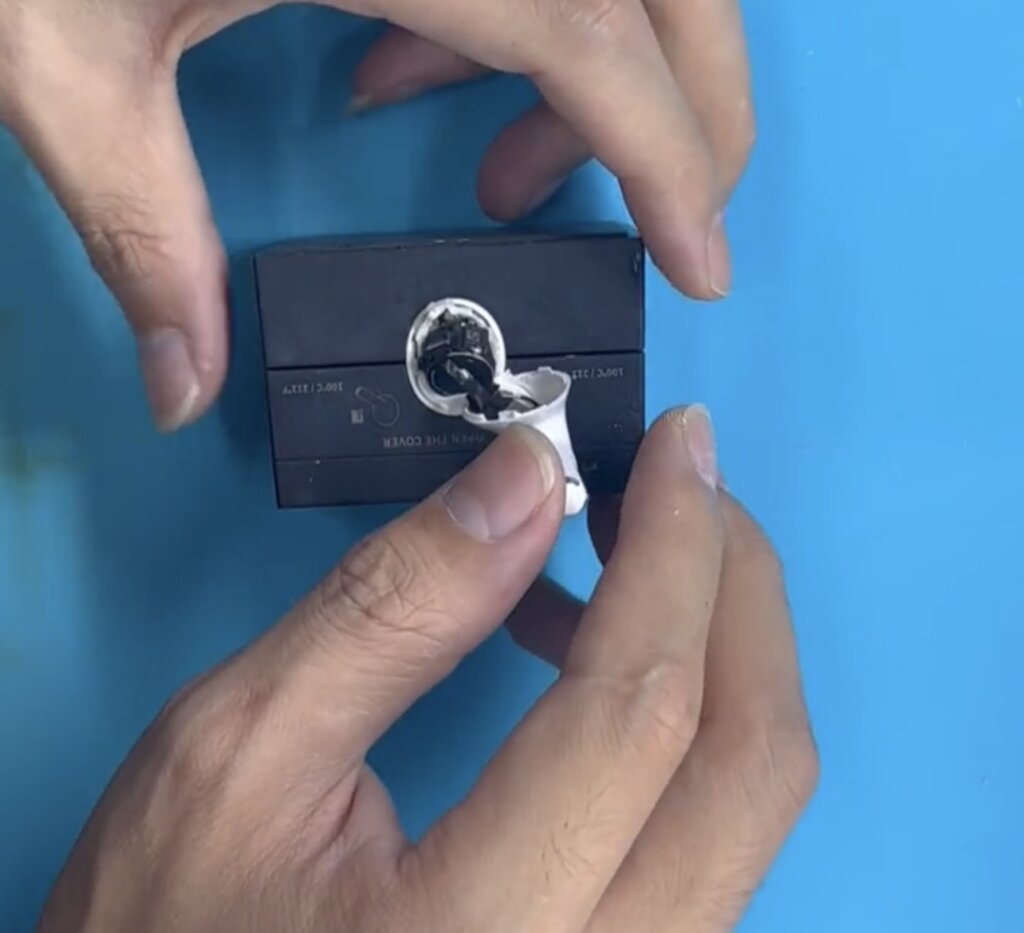
Step 3: Disconnect the flex cable
The third step is to remove the lid and disconnect the flex cable that connects it to the case. The flex cable is located near the hinge, on the inside of the case. Use tweezers to gently pull up on the connector and detach it from the socket. Be careful not to tear or damage the flex cable or the connector.
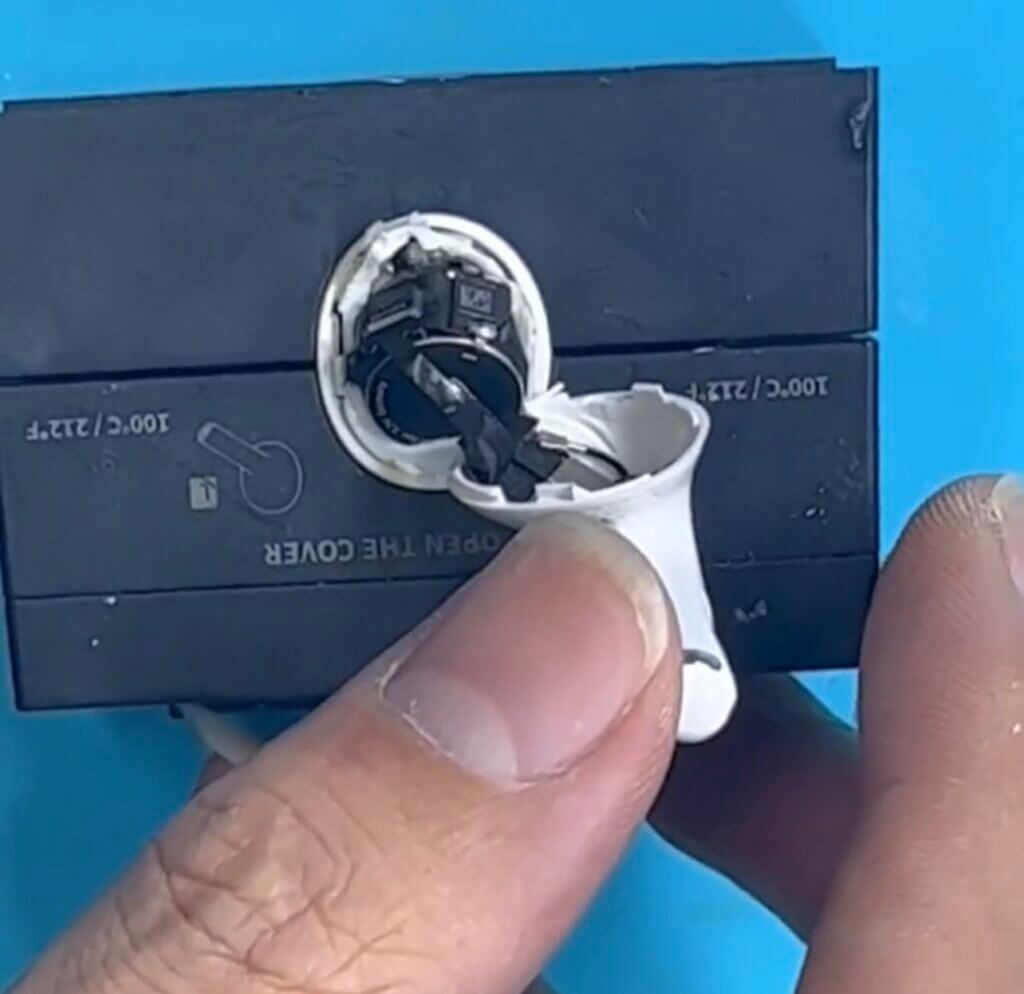
Step 4: Remove the black tape
The fourth step is to use tweezers to peel off the black tape that covers the battery connector and the charging port. The battery connector is located on the left side of the case, near the bottom. The charging port is located on the bottom of the case, in the middle. The black tape helps protect these components from dust and moisture, but also makes them harder to access.

Step 5: Desolder the battery wires
The fifth step is to use a soldering iron to desolder the battery wires from the charging port board. The charging port board is a small circuit board that connects to the charging port and has four wires attached to it: two red ones and two black ones. The red wires are positive and connect to the positive terminal of the battery. The black wires are negative and connect to the negative terminal of the battery.
To desolder the wires, you need to heat up each solder joint with your soldering iron until it melts, then pull out each wire with your tweezers. Be careful not to touch any other components or create any short circuits with your soldering iron.
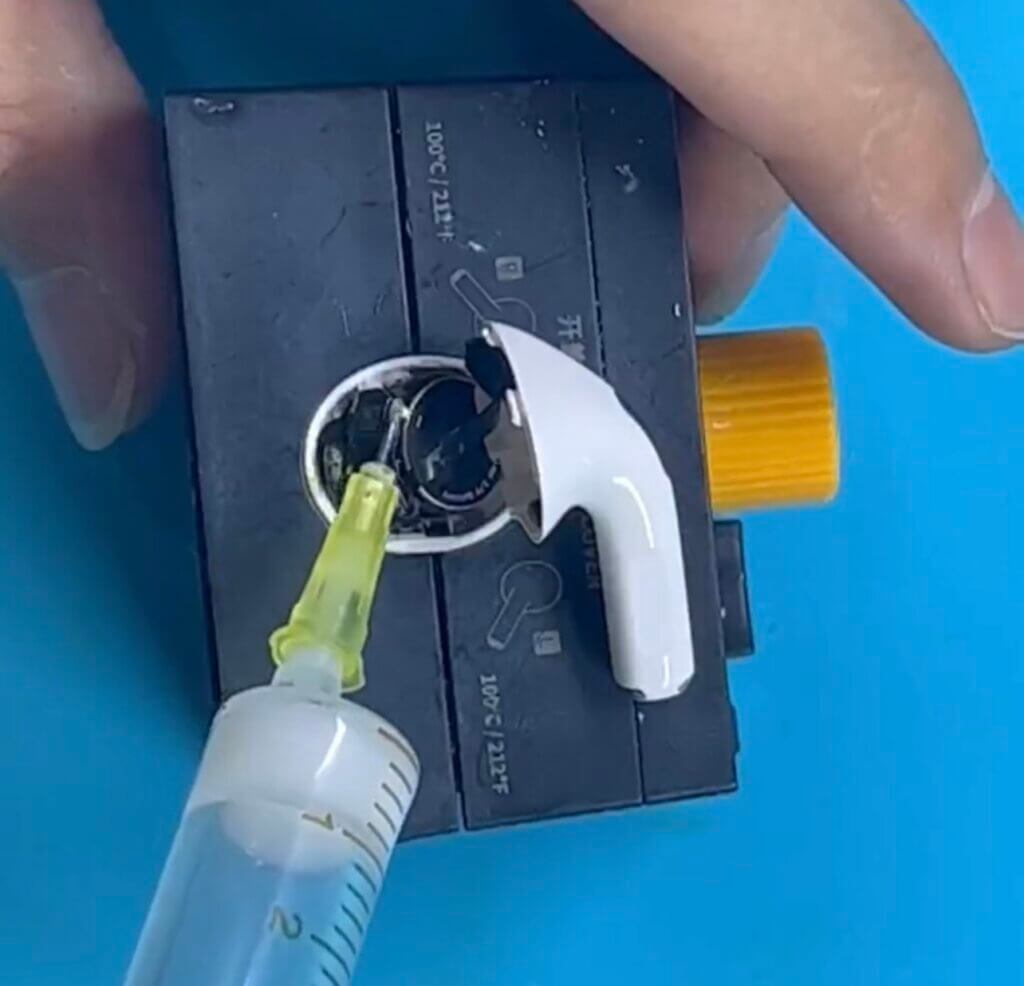
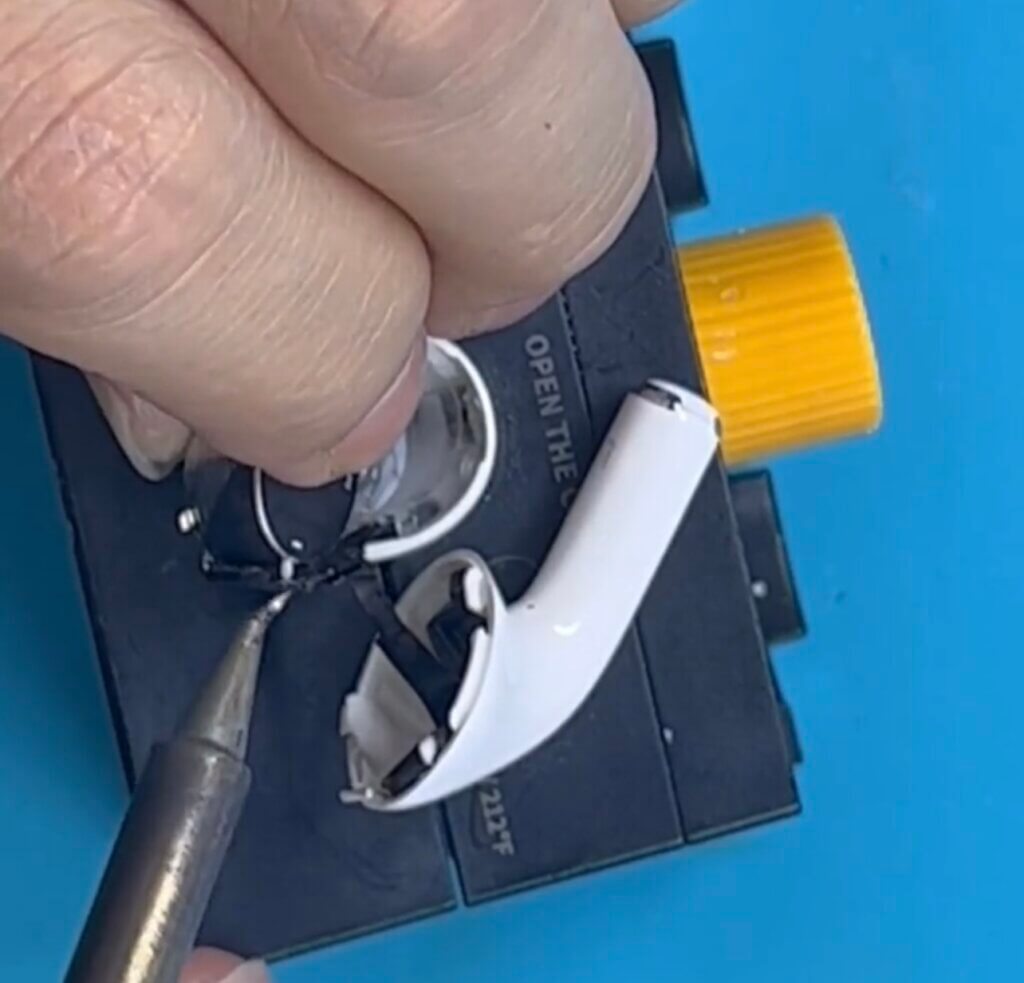
Step 6: Pry out the old battery
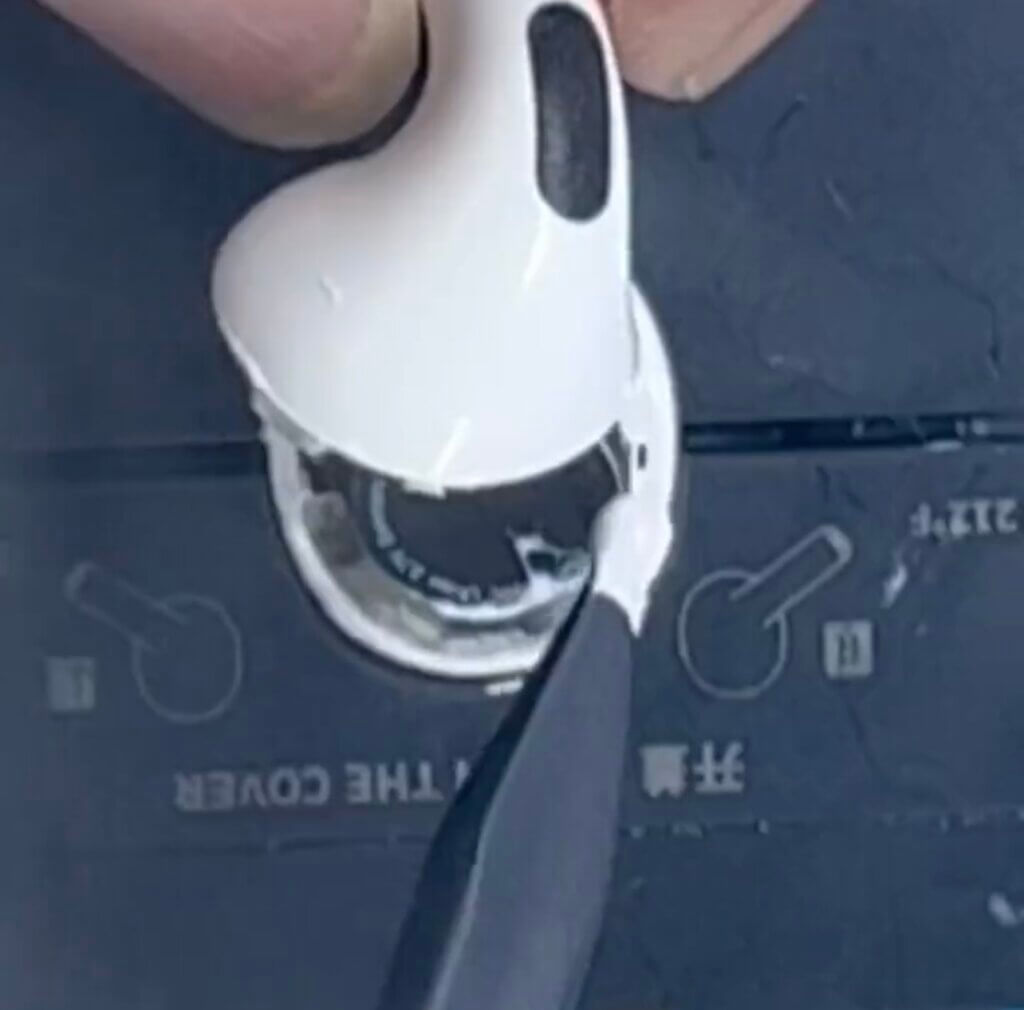
The sixth step is to use a spudger to pry out the old battery from the case. The battery is glued to the inside of the case with some adhesive tape, so you need to apply some force to remove it. Be careful not to damage the flex cable or the sensor that are located inside the case, near the top.
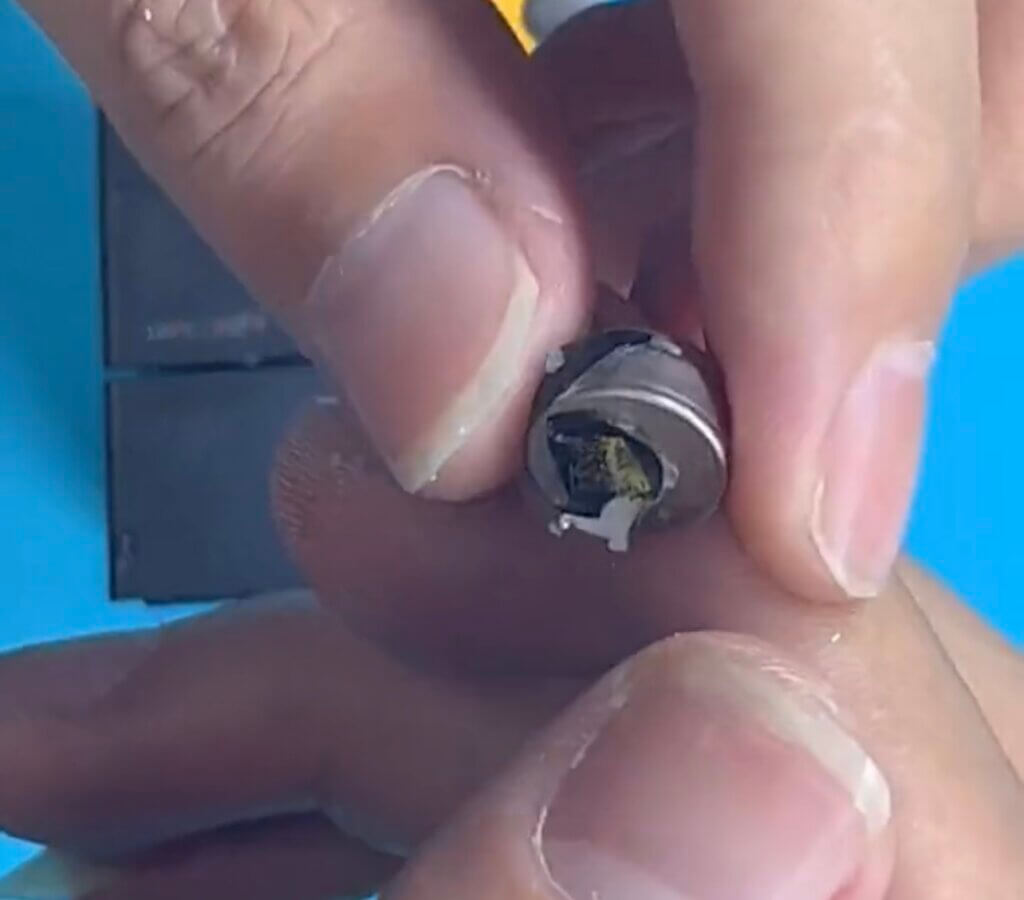
Step 7: Insert a new battery
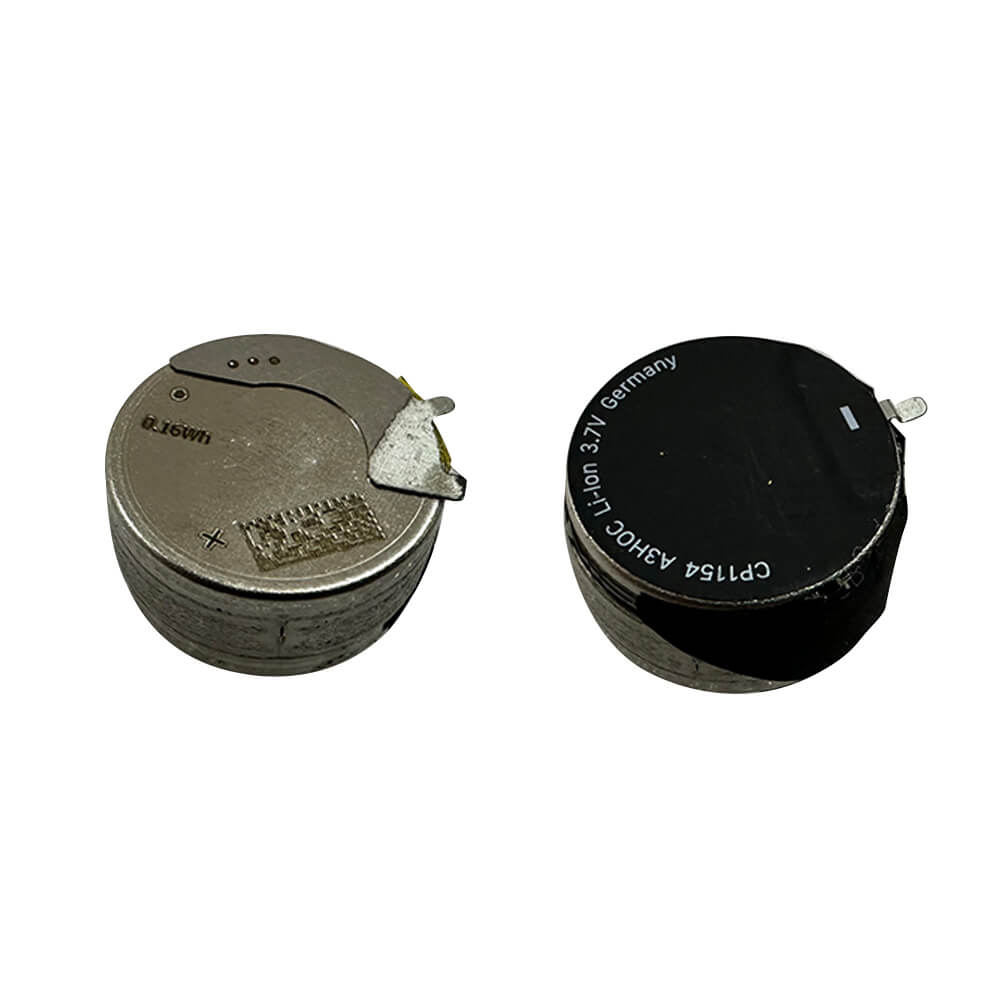
The seventh step is to insert a new battery into the case and solder the wires to the charging port board. You can buy a new battery online or from a local store that sells cell phone parts. Make sure the new battery has the same specifications as the old one, such as voltage, capacity, and size.
To solder the wires, you need to do the opposite of what you did in step 5. First, you need to strip off some insulation from each wire with your tweezers or a wire stripper. Then, you need to tin each wire with some solder by heating it up with your soldering iron and applying some solder to it. This will make it easier to attach the wire to the board.
Next, you need to solder each wire to its corresponding pad on the board. The red wires go to the positive pads, and the black wires go to the negative pads. Make sure the polarity is correct and there are no short circuits or loose connections.
Step 8: Apply some adhesive tape
The eighth step is to apply some adhesive tape to secure the battery and cover the connector and the charging port. You can use the same black tape that you removed in step 4, or use some new tape. The tape will help keep the battery in place and prevent any dust or moisture from entering the case.
Step 9: Reconnect the flex cable
The ninth step is to reconnect the flex cable of the lid to the case. The flex cable has a small connector that fits into a socket on the inside of the case, near the hinge. Use tweezers to align the connector with the socket and gently press it down until it clicks into place. Be careful not to bend or damage the flex cable or the connector.
Step 10: Close the lid
The tenth and final step is to close the lid and seal it with some adhesive. Align the lid with the case and press it firmly until it snaps into place. Then, apply some adhesive around the edge of the case and press it again to make sure it is secure. You can use some glue or some double-sided tape for this purpose.
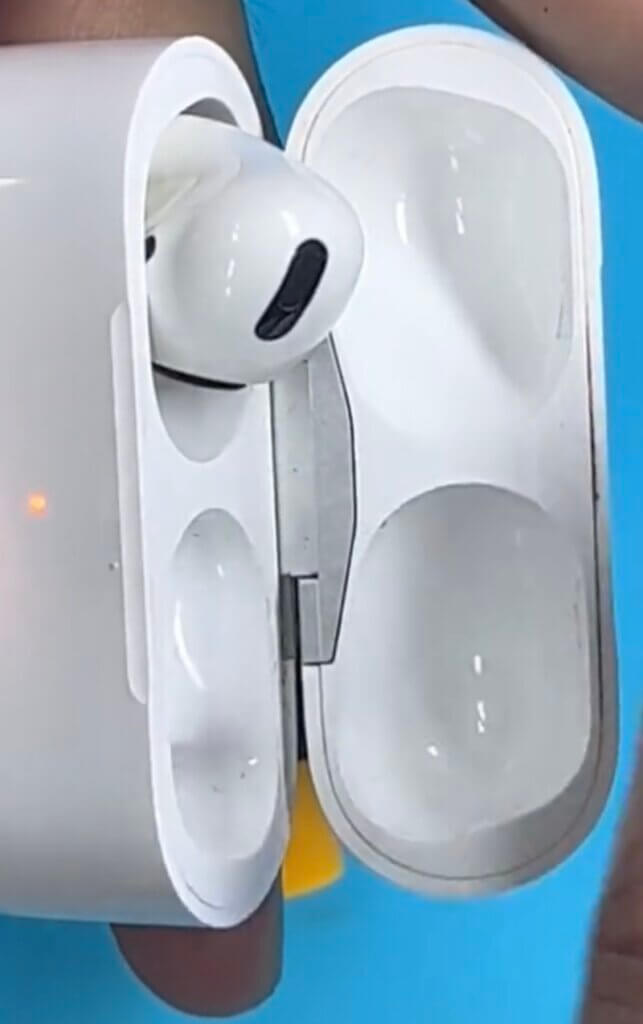
Congratulations! You have successfully replaced the battery of your AirPods Pro headphones. You can test them by pairing them with your device and checking their battery level. You should notice a significant improvement in their performance and longevity.
If you want to see a visual demonstration of this process, you can watch this video that shows how to replace AirPods Pro battery in detail.
I hope you enjoyed this blog post and learned something useful. If you have any questions or feedback, please leave a comment below. Thank you for reading!

